A Step-by-Step Overview of the Solar Panel Installation Process
If you’re considering solar panels for your home, you might wonder what steps are involved before your system starts generating power. It’s not just about picking panels and installing them—you need to assess your property, design a system that suits your energy needs, handle permits, and ensure everything’s up to code. Each stage matters, including how you activate and maintain your setup. Let’s walk through what you need to know before making the switch.
Assessing Your Home’s Solar Potential
Assessing whether your home is suitable for solar panel installation involves several key considerations.
Begin by examining your annual electricity bills to gauge your energy consumption. This data is crucial as it will inform the size and capacity of the solar system required to meet your energy needs effectively.
Next, assess the physical characteristics of your roof. Important factors include the condition of the roofing material, the angle of the roof, and its exposure to sunlight throughout the day. Ensure that potential solar panels will not be obstructed by nearby trees or accumulated debris, such as bird droppings, which can impede their efficiency.
While DIY tools are available for basic assessments, engaging a professional for a comprehensive inspection is advisable. This approach can provide a detailed evaluation of site-specific factors that may impact solar panel performance.
Consulting with a qualified installer from reputable solar companies can yield valuable insights and a tailored report based on your home's unique characteristics.
Finally, be aware that local regulations will mandate certain permits and permissions before any installation can commence.
It is advisable to contact local authorities and your utility company to understand these requirements and ensure compliance throughout the installation process.
Designing and Contracting Your Solar System
The solar design and contracting phase initiates with a comprehensive discussion between the prospective customer and a qualified sales representative. During this conversation, various system options, available incentives, and details regarding installation are reviewed.
It is important to differentiate between do-it-yourself (DIY) approaches and services provided by professional installers. Additionally, there will be an examination of relevant Enphase technologies, including batteries and solar panels that are best suited for the specific property.
Subsequently, a site inspection is conducted, frequently through virtual means, to gather essential data required for system design. This inspection also facilitates an estimation of the installation cost per watt.
Upon signing the contract, which typically takes about one hour, the document will outline key aspects such as the installation process, local permitting requirements, financing options, and compliance with local building regulations.
It is crucial to ensure that all relevant utility companies and local authorities are informed and involved in the process to guarantee that all necessary approvals and requirements are met. This systematic approach helps to streamline the installation process and mitigate potential issues that may arise during the project.
Managing Permits and Approvals
Prior to commencing installation, it is essential to secure the appropriate permits and approvals. This process is frequently handled by the solar installation company to facilitate a smooth experience for the homeowner.
The company will liaise with the Utility Company, local authorities, and the Authority Having Jurisdiction (AHJ) to acquire all necessary permits for the property.
Homeowners may also need to engage with their homeowners’ association or verify their contract to ensure that all required permissions are in place.
The duration for obtaining these approvals can vary based on local permitting regulations, with typical timeframes ranging from two to four weeks.
Initiating this process early is advisable, as it can help mitigate potential delays, lower installation costs, and enhance the overall efficiency of the installation timeline.
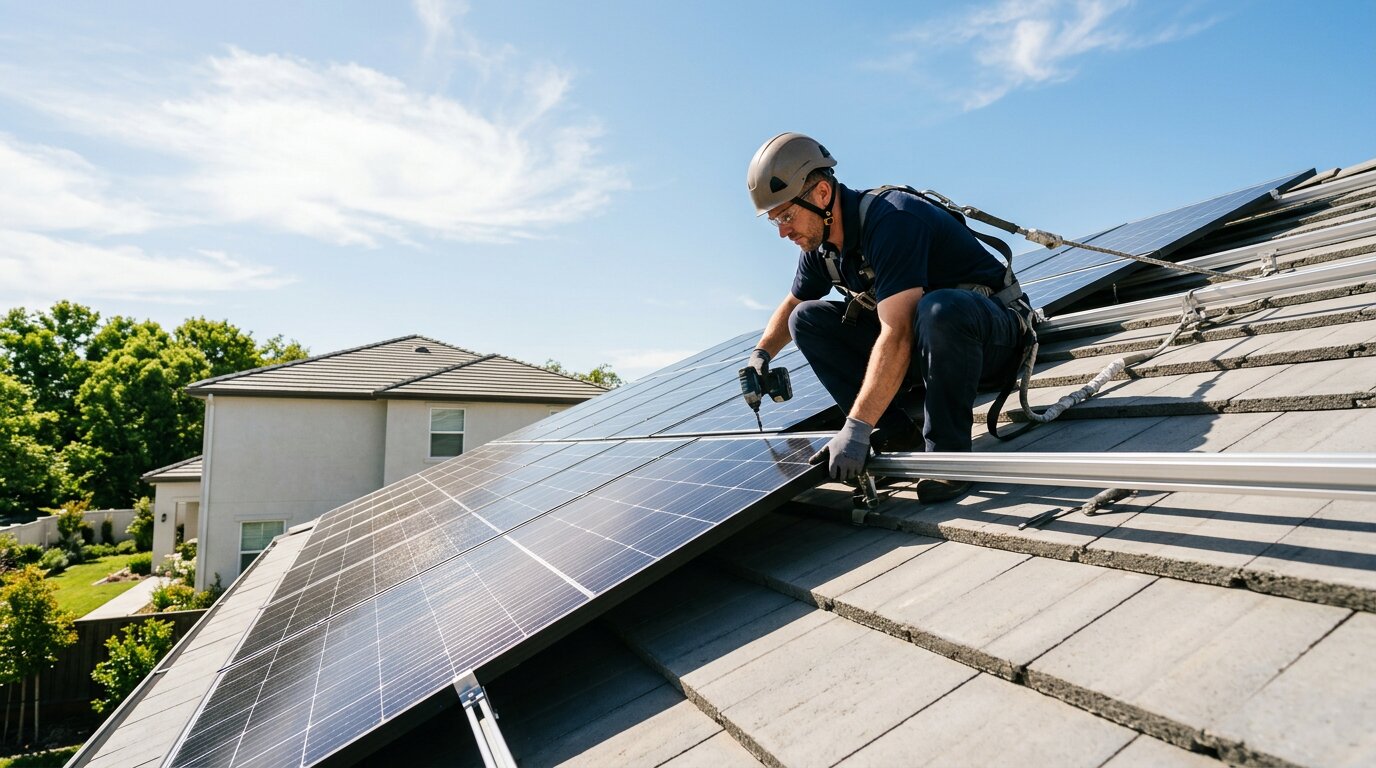
Installation and Inspection Procedures
Once all necessary permits and approvals have been secured, the installation of a solar panel system typically progresses expediently, usually taking one to two days.
The installation team will arrive on-site equipped with all required materials, including solar panels, Enphase batteries, and the necessary tools for various installation phases.
Throughout the installation process, inspections conducted by local authorities or the Authority Having Jurisdiction (AHJ) are required at several key stages. These inspections serve to verify compliance with local building codes and safety regulations. The inspectors will generate a report outlining their evaluations and findings, which is a critical component of the process.
Furthermore, prior to activating the solar panel system, it is essential to obtain Permission to Operate (PTO) from the Utility Company. This approval not only affirms that the installation meets safety standards but also plays a role in ensuring that the system can successfully integrate with the existing electrical grid.
Subsequently, this integration contributes to potential reductions in electric bills for the owner.
Activating and Maintaining Your Solar Power System
Once you have obtained approval from your utility provider, activating your solar power system can be accomplished with relative ease. It is essential to secure a Permission to Operate (PTO) from the relevant Authority Having Jurisdiction (AHJ). This step is critical as it indicates that your system meets all necessary regulations and safety standards.
To begin operation, you will need to activate several components: the solar breaker, the Enphase inverter, and the AC disconnect. Activating these elements will enable your solar panels to start generating electricity to supply your home.
Regular maintenance is an important aspect of ensuring the continued efficiency and performance of your solar system. Homeowners should routinely inspect for any obstructions that may block sunlight, such as bird droppings or debris on the panels.
For those who opt for do-it-yourself maintenance, it is advisable to familiarize yourself with the specific tools required for inspections to maintain optimal system performance.
For a comprehensive assessment of your system’s condition, consider contracting services from your installer or requesting a detailed maintenance report.
It is also important for homeowners to be aware that costs related to installation, local permitting, and monthly utility bills can vary significantly based on the terms of the contract and the utility company involved. Understanding these variables can help in managing expectations and budgeting for solar energy.
Conclusion
By understanding each step in the solar panel installation process, you’re better prepared to make informed decisions for your home. From assessment through activation, every phase plays a critical role in ensuring your system is safe, reliable, and efficient. With thoughtful planning and the right professionals, you’ll maximize energy savings and minimize potential setbacks. Embracing solar power isn’t just about going green—it’s a practical investment in your home’s energy future.